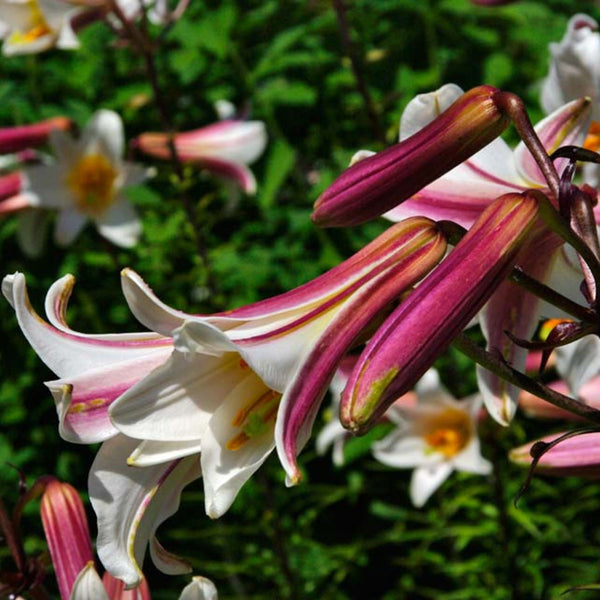
Seed potato
Seed Potato Planting Guide
Certified, NZ Grown Seed Potatoes... nothing beats them!
Preparing your seed potatoes
- You should aim to have brought your preferred seed potatoes up to 6 weeks before planting... this is to allow them to begin to sprout (called chitting)
- Always use certified, virus free seed potatoes to ensure you get great results.
- It's important not to plant out your Seed Potatoes until after the risk of frosts have ended (alternatively if you're super eager, the use of Frost cloth can do the trick )
- Store your seed Potatoes in a nice dry area until they produce shoots between 2 – 4 cm long (storing in an egg container is our wee hack!)
Sorting out the planting area
- Potatoes are best grown in the garden, but can also do well in buckets, tire stacks or planter bags.
- Select a position in your garden that is sunny and free draining but reasonably sheltered from strong winds.
- Potatoes are hungry wee fellas, and will need plenty of fertiliser for them to perform at their best. Treat them right, and they'll treat you with plenty of scrumptious spuds.
- If you can, avoid planting your potatoes where tomatoes were planted last season.
- Prepare the soil by working it up well, and mixing in some organic matter - adding organic matter enriches the soil, creating the perfect growing conditions.
- We recommend adding in some organic Fertlizer at this point - Blood and Bone works best ( if you have a hungry Labrador like we do, I'd suggest skipping the Blood and Bone... we've learnt our lesson here!)
- After the soil has been thoroughly worked up, dig a trench about 15cm deep and place the seed potatoes approximately 25cm apart, if you need more than one trench space each one 80 cm apart.
- Lay each potato with the shoots pointing upwards and carefully cover them back over with soil without damaging the shoots.
- To grow potatoes in containers or buckets etc, place about 10cm of soil or garden mix in the bottom and lay about 5 potatoes with the shoots facing upwards on the mix then gently cover with more soil or mix so that the potatoes and their shoots are completely covered ( or about 5cm on top of the spuds)
- As the shoots begin to grow above the soil, mound up fresh soil or add extra garden mix to your container each time they reach 5 – 10 cm above the soil.
- In frost prone areas give protection from frosts with frost cloth.
- Keep your crop weed free by regularly hoeing but take extra care not to damage the fresh growth.
- When watering aim to water only the soil and not the leaves, this is a big help in preventing diseases attacking the plants.
- The best and easiest way to achieve this is to use a dripper hose, lay it out along the top of the row next to the stems of your potatoes and connect it to your garden hose, turn it on long enough until the soil is well watered but not soaked.
- The water will slowly leak out all the way down the dripper hose watering the roots but not getting the leaves wet.
- Watering is especially important at flowering time.
- Pests and Diseases are always potential trouble when growing anything but you can easily fight them with a bit of help.
- Slug and snails will attack so spread a little palletised bait around the base of your plants, not a lot is needed but top it up as is required when it is all eaten or has been washed away with rain.
- Other insects such as aphids, potato tuber moth and the wire worm can create some headaches, by mounding the soil up around the plants you can prevent the potato tuber moth from laying the eggs beside the fresh potatoes and its larvae can not reach your spuds.
- There are a few options for protecting your plants from other insects and fungi such as using chemicals to achieve it or other organic options.
- Talk to your local garden store to see what they offer here, it is important to fight these pest and diseases for a bumper crop.
- Flowering is an indication that you potatoes are nearly ready to harvest, be sure to wait until the flowering is finishing before digging them up.
- Some varieties such as Rocket do not flower so monitor its progress by the length of time since it was planted. Rocket needs approximately 80 – 90 days to reach maturity.
- Early varieties are generally ready to harvest approximately 90 days (3 months) after planting or when the flowers are fully opened.
- The main and late crop are ready when the flowers and foliage (leaves) have died back.
- Dig your fresh potatoes using a fork, carefully remove the soil from the top of the row then dig right down under them and lift up, start digging well back from where they were planted to avoid damaging any new spuds then work your way into the plant.
- IF harvesting from containers or buckets, just tip it over onto the mat or tarpaulin (this makes it easier to clean up) and hunt down you fresh spuds in the soil.
Storing them for eating.
- First up, check each variety for storability, rub the skin with your thumb and if it peels off easily then eat these varieties first as they will not keep for a long time.
- As soon as they have been dug, dry them thoroughly (you can wash them first if you want) and store them in a cool dark place that has good ventilation, do not expose your eating potatoes to light.
- Storing them in old sacks or paper bags is fine as they can ‘breath’ in these, but do not store in a sealed container such as an ice cream container with the lid on because they will get no fresh air.
- Keep a close eye on them and remove and rotten ones immediately, these will infect the good ones next to it if they are not removed in time.
- Carefully stored potatoes can last up to 6 months. .