Shallots Planting Guide
Shallot Bulbs are the perfect addition to your Vege garden - easy to grow, and great producers.
Shallots are traditionally planted on the shortest day and harvested on the longest, although they will grow if planted any time before spring - May through to around August is perfectly fine.
Planting Guide
- Find a nice sunny spot with fertile, free draining soil - if your soil isn't free draining, you'll need to raise your beds.
- Dig in some sheep pellets or compost into the soil and work in well. Shallots will also do well in pots, but will require a good quality potting mix, and plenty of water over the Spring Months. We'd also recommend adding side dressings of fertilizer if growing in pots.
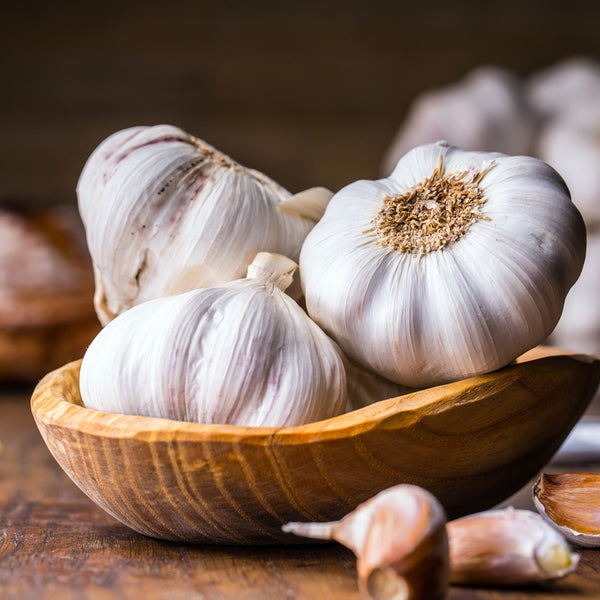
- Press them into the soil but leave half of the bulb poking out. Space your shallots at least 15-20cm apart. Shallots form clusters of bulbs around the original bulb so they require more space than garlic.
- Shallot's don't like competing with weeds, so it's important to keep the area around your Shallot's as weed free as possible.
- Water regularly over the drier months - reduce the amount of water around a month out from harvesting (this will ensure that they keep once harvested)
- If flower stalks appear, it's a good idea to remove these. This will ensure that all of the Shallot's energy is put into the Bulbs, giving you a better production rate.
Harvesting Shallots
Usually, you can lift your Shallots on the Longest day (in December), however this can be done anytime after the leaves have gone brown, and died down.
Loosen the soil around the bulb with a fork and pull the bulbs up by their leaves. To store your Shallot Bulbs, leave on the foliage, and store in a cool, dry, well ventilated place for two or three weeks, or until they have dried out. Now you can trim back the foliage to the top of the Bulb and store in a mesh bag (or similar). It's important to keep them in a cool, dry area of the house or garage.