Gladioli Nanus: Small in Size, Big on Colour!
If you're after bright, cheerful blooms without the hassle, Gladioli Nanus are an absolute standout.
You might be thinking, "Gladdies? Aren’t they those ginormous, towering things that Nan used to prop up with about 67 stakes and half a roll of twine?"
And you wouldn't be wrong, BUT the Nanus are a different kettle of fish altogether.
These wee beauties are shorter (around the 60cm mark), lower maintenance than their Gladioli counterpart, and just downright charming. Perfect if you love the Gladioli drama without needing to build a scaffold system to keep them upright.
I can vouch for these beauties - one season growing them and boom, you'll be obsessed.
They're hardy as anything, love our NZ gardens, and they're perfect for popping into pots, lining borders, or adding to those bare spots you’ve been meaning to sort out.😉
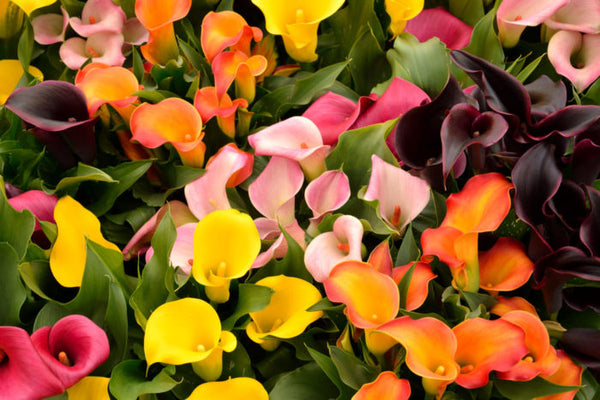
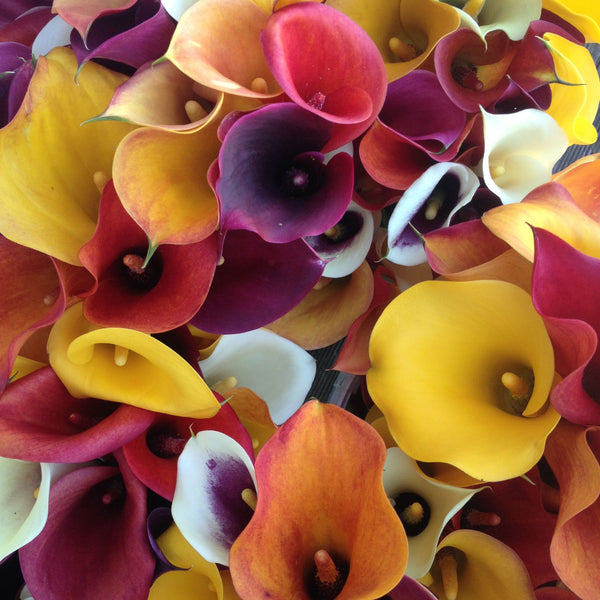
Colour-wise, Gladioli Nanus come in such a wide range of colours - they bring all the sparkle without hogging the whole show. And because they're a bit more petite, they're less likely to flop over the second a Nor’wester blows through. Win-win!
Hot Tip:
One of the best things about Gladioli Nanus is how easy they are to pick and bring indoors. The shorter stems are perfect for vases, and they last really well once cut, often holding their colour and freshness for well over a week if you treat them right.
Growing Gladioli Nanus – A Quick Guide
Gladioli Nanus are as tough as they are good-looking, and they’re a breeze to grow once you know a few basics.
When to plant:
Late March to mid-May is ideal for planting. You'll get the best results if you get them tucked into the ground before winter really settles in.
Where to plant:
Choose a sunny, sheltered spot with good, free-draining soil. They’ll tolerate a bit of light shade if they have to, but full sun will give you the best flower show.
How to plant:
Loosen your soil to about 20cm deep and mix in a good bulb fertiliser.
Pop your bulbs in with the pointy tip facing up, about 5–7cm deep. They love company, so plant them in groups — it’ll make for a better display (and they'll help hold each other up too).
Water them deeply after planting, and keep the soil lightly moist during their growing season - not soggy, just enough to keep them ticking along happily.
Common issues to watch for:
Thrips (tiny sap-sucking pests) can sometimes cause trouble. A general-purpose spray like Naturally Neem can help keep them in check.
Rust can also appear in warm, damp conditions — if you spot it, a quick spray with a fungicide like Yates Bravo will help sort it out.
Picking and Aftercare
For picking:
If you’re growing them for cut flowers (and you absolutely should!), pick your blooms when the first flower at the bottom of the stem just starts to show colour.
The rest of the buds will open up once they're in water, giving you a full vase of colour that lasts longer.
When cutting, always leave about 20cm of stem and as many leaves as possible on the plant.
This lets the bulb recharge and store energy for next year’s flowers, so you’ll get an even better show next season.
After flowering:
Once your Nanus have finished their show, let the leaves die back naturally, don't tidy them up too early! The leaves need to fully dry and brown off to feed the bulb properly for next year.
If you’re feeling organised, you can lift the bulbs around December or January once the plants have completely died back. Let them dry in a sunny spot for about a week, then store them in a cool, dry, and airy place until it's time to plant again next autumn.