Iris Reticulata Planting Guide
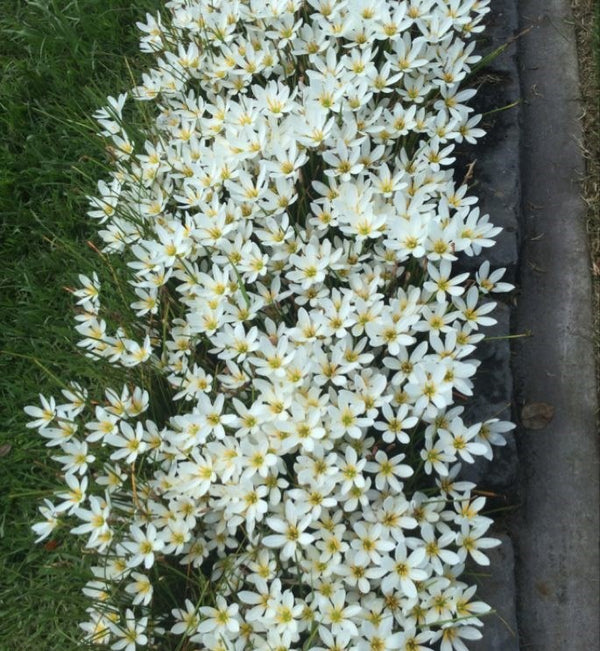
Iris Reticulata’s are a stunningly beautiful dwarf irise, flowering on 10-15cm stems.
They originally came from such areas as Turkey and the Caucasus, and are cultivated on a fairly large scale.
They originally came from such areas as Turkey and the Caucasus, and are cultivated on a fairly large scale.
They bloom very early in the season, which is a real bonus.
The flowers themselves are quite large in relationship to the plant as a whole, and the flower colour of the species is violet-purple.
Iris reticulata’s are especially appropriate for use in rock gardens and as a border plant. Naturalizing is possible. Probably the only drawback of this variety is that they develop many leaves during the flowering stage, slightly diminishing an otherwise dramatic appearance.
You should plant Iris Reticulata’s from late March through to mid May.
Planting in the ground…
- Reticulata Irises require full Sun to perform at their best, but will happily tollerate part shade. Find a spot in the garden that’s free draining, otherwise your Bulbs will rot over the Winter. If the soil’s not free draining, you can raise your bed slightly to combat this.
- Loosen the soil to a depth of at least 15cm, mixing in a bit of Bulb Food while you’re at it, and plant with the pointy side up, around 10cm deep.
- Adding a bit of compost wouldn’t go a miss... make sure you don’t use manure, as this will generally give you more leaves and less flowers.
- Give your Bulbs a nice deep watering to kick start them.
- You should start seeing leaves appearing from mid May, with their flowers around September onwards.
Planting in pots...
- As with most Spring Bulbs, Reticulata Irises do great in pots. Make sure your pot is at least 20cm deep, and has good drainage holes.
- Select a good quality potting mix, and add a little compost in. You can use garden soil too providing it is free draining, but make sure you add in some Bulb food.
- ¾ fill your pot with soil, and place the Bulbs in (it’s easier to push them in slightly, so that when you fill the pot up with the remainder of the soil, the bulbs don’t fall over) You’re wanting the tips to be facing up, and around 10cm below the surface of the soil.
- Give your pot a good deep watering, remembering that the soil in pots can often get rather dry, it’s important to water more often than if they were in the ground.
- Site your pot somewhere where it can receive full sun.
After flowering…
As with all Bulbs, it’s vital to let the plants die down on their own - as tempting as it can be to remove the unsightly leaves, it’s important not to. Bulbs are a wee storage system, and need the Nutrients gained from the leaves to do well in subsequent years. Once the foliage is brown and dry it’s fine to remove.